Infolet:
It is a small interactive interface to see key info
 2. Create Sandbox
3. Give Name, and select Page Composer


4.From Tools > Select Page Composer
Key Points to note:
1. It can have 3 views : Front , Back and Expanded
so max of 3 reports can be mapped
2. Infolets can have a link to detailed reports.
3. These can be hidden or re-orded
4. Front view is mandatory, if no report is used, shows blank (3*2 size is not recommended as it is difficult to view in mobile devices)
5. Back view size will be always same as front size (usually will have a graphs)
6. Back and Expanded view are optionals
7.Expanded view is bigger than other views.
8. Actions menu will available for all views
9.Available sizes: 1*1, 2*1, 3*1, 1*2, 2*2, 3*2, 1*3, 2*3
Infolet Creation:
1. Navigator > Configuration > Sandboxes
3. Give Name, and select Page Composer
click on Create and Enter

this is how it will come

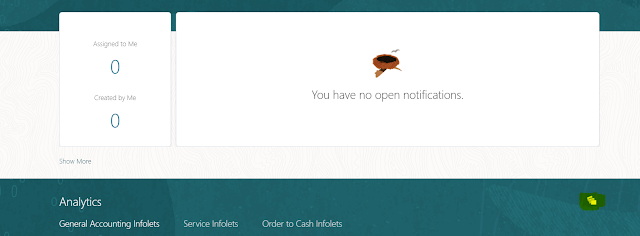
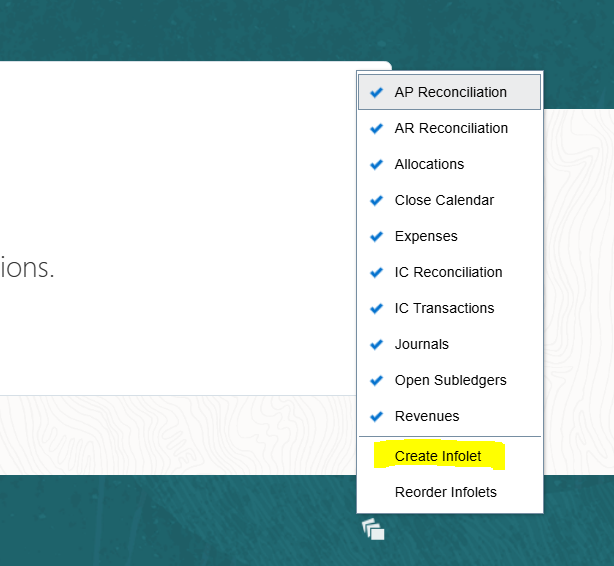
5. Goto Analytics section on Home Page, click on Infolet Repoistory >Create Infolet
6. Give Infolet name, select dimension for front view, select enable or disable for back and expanded views

click save and close
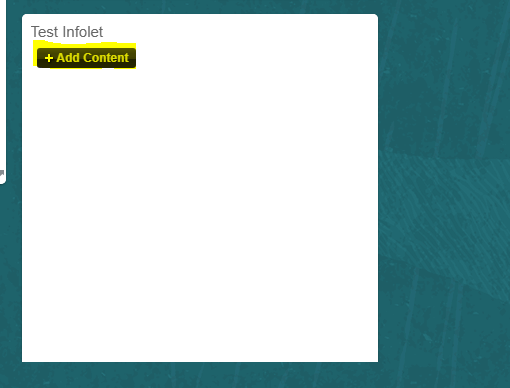
7. Add content
select report and click add

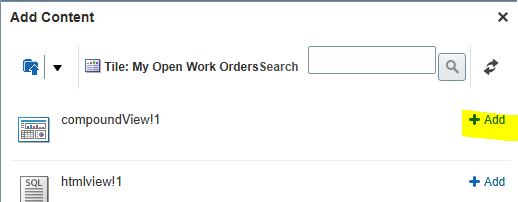

Similarly can be added for other views
Actions menu:
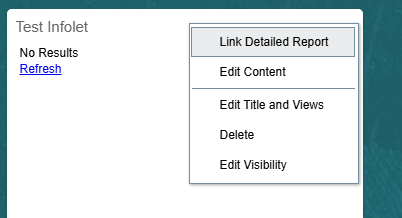
Link detailed report: to see detailed one.
edit content: to change the report
edit title and view: to go to Infolet creation page and change title and view sizes, enable options
delete: to delete the infolet
edit visiblity: to see el expression related info


for front view

for expanded view

expanded view tile


No comments:
Post a Comment